Skip to content

Polyurethane Cutting Edge / Blade Installation

The installation process for Universal Urethane’s “Surface Saver” Snow Plow Blade begins by removing the existing cutting edge. If the surface of the snowplow is not clean, use a putty knife to scrape it down to the metal, ensuring the new blade will sit straight and flush. Next, measure and mark the center of the snowplow blade to help guide the placement of the holes for drilling. It’s important to mark the middle of the cutting edge to ensure both sides of the blade can be used. Once the holes are traced, drill them using an 11/16″ drill bit, which is recommended for our 1.5″ thick snow plow blade. We recommend that you use bolts that are 3 inches long and 5/8 inches in diameter to secure the blade. After drilling, simply bolt the new cutting edge onto the plow. When the first side of the blade is worn out, you can unbolt it, flip it over, and use the other side.

1. Remove old blade from plow.

2. Lay old blade over new cutting edge, drill hole pattern.

3. For general use, leave urethane exposed the thickness of blade. For example:

  • ½” thick blade = ½” urethane exposed
  • 1” thick blade = 1” urethane exposed
  • 1 ½” thick blade = 1 ½” urethane exposed

4. Drill urethane cutting edge/blade.

5. Assemble polyurethane between snow plow & old worn blade (or heavy duty washers). Using old blade is highly recommended.

6. Bolt together.

7. As blade edge wears, you can do one of two things: either lower blade and redrill holes, or flip the blade 180 degrees. This will help you get the most life out of your urethane cutting edge.
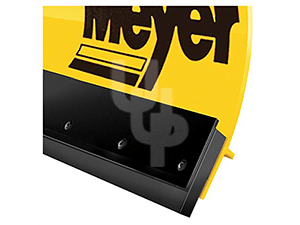
Meyer Cutting Edge